


- Installing a LoRA model
- Generating images using a LoRA model
- A simple introduction to the
Load LoRAnode
Required Model Installation
Download the dreamshaper_8.safetensors file and put it in yourComfyUI/models/checkpoints folder.
Download the blindbox_V1Mix.safetensors file and put it in your ComfyUI/models/loras folder.
LoRA Workflow File
Download the image below and drag it into ComfyUI to load the workflow.
Complete the Workflow Step by Step
Follow the steps in the diagram below to ensure the workflow runs correctly.
- Ensure
Load Checkpointloadsdreamshaper_8.safetensors - Ensure
Load LoRAloadsblindbox_V1Mix.safetensors - Click the
Queuebutton, or use the shortcutCtrl(cmd) + Enterto generate the image
Load LoRA Node Introduction
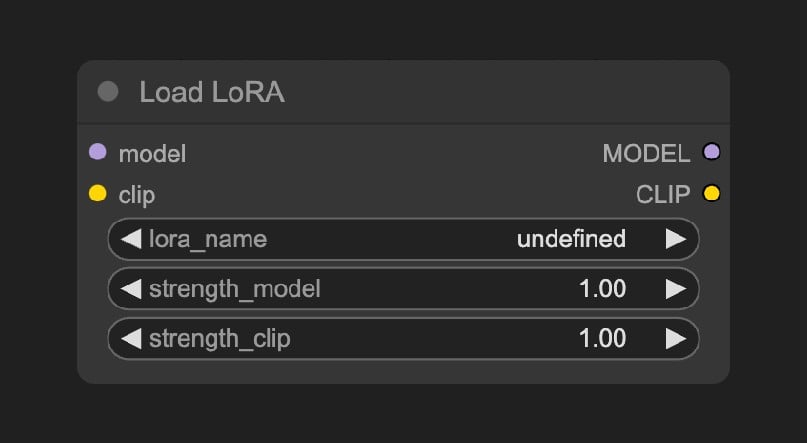
ComfyUI\models\loras folder will be detected by ComfyUI and can be loaded using this node.
Input Types
Output Types
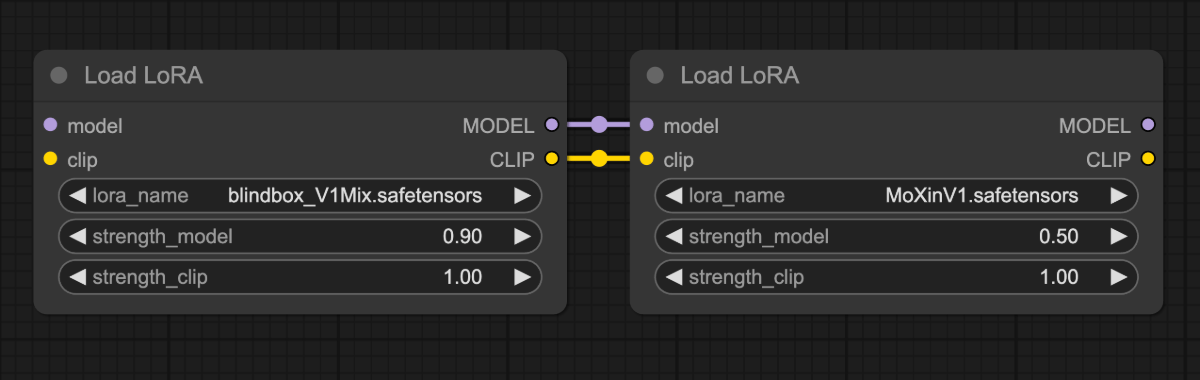
This node supports chain connections, allowing multiple
Load LoRA nodes to be linked in series to apply multiple LoRA models. For more details, please refer to ComfyUI Multiple LoRAs Example
Try It Yourself
- Try modifying the prompt or adjusting different parameters of the
Load LoRAnode, such asstrength_model, to observe changes in the generated images and become familiar with theLoad LoRAnode. - Visit CivitAI to download other kinds of LoRA models and try using them.